Rhino Ready-Color Challenge #001

Tuesday, April 16, 2024

Hey there, welcome! Today, I've got a little color challenge. Lately, I've been wrestling with making the most of all those fabulous Stampin' Up colors! It's all about stepping out of my comfort zone and into something new. Join me, won't you?

Every Sunday I'll post a brand-new color challenge right here and in my Stamped in Ink Facebook group. The group is open to everyone, and guess what? You can share your creations right in the challenge post. I'd love it if you joined in the fun with me!

For this week's Challenge, I chose the Rhino Ready Stamp Set and Subtles 6X6 Designer Series Paper .  The Designer paper is currently part of the Last Chance sale and will be retiring at the end of April.

I used Smokey Slate CS for the card base and added layers of Thick White CS, polka dot Pool Party DSP-say that three times fast! and Petal Pink CS.  I used the Radiating Stitches, Nested Essentials, and Stylish shapes dies to cut out the Petal Pink CS mat, Smoky Slate pennant, and 1-1/2" circle. 

I used Black Memento ink to stamp the cute Rhino and bird image. Then, I used Stampin' Blends to color the images. Have you tried Stampin' Blends? 

Stampin' Blends are like magic markers that blend super smooth, making colors flow into each other seamlessly, giving stamped images that extra POP! 

I used Smoky Slate to color the Rhino and light Flirty Flaming to give him a little color on his cheeks. Then, I used Coastal Cabana Blends to color the sweet little bird.

I really like how this card turned out.  What do you think?

I've also created a Reel and shared it on my Instagram and Facebook pages. If you want to see my process, please check it out.   

You can find all the products I used to create this project HERE. Don't forget to join the Facebook Group and share your creations. 

Happy Stamping!

Read More

Darling Details - Post-it Note Holder

Friday, April 12, 2024

Hey friends.  Welcome Back!  I have another fun project using Darling Details.  It's a Post-it note holder!  This project is so simple and makes a cute gift.  For this project, I used the 3X3 Post-it notes.  So, if you use a different size, you'll need to adjust the measurements.

I used Thick Basic White CS as the base and added an embossed 3-3/8" X3-3/8" layer as a top layer.  Then, I used the Stylish Shapes dies to cut out a 2-1/2" circle from Vellum CS.

I used Melon Mambo and Granny Apple Green ink to stamp the flower and leaf images using the two-step stamps and cut them out with the coordinating dies. Then, I layered them onto the vellum circle.   I used the Stylish Shapes dies to cut out the banner and Pebbled Path ink to stamp the "Just a Note" sentiment.

    Measurements:

The Darling Details is on the Last Chance list and only available while supplies last through April 30, 2024.  You can check out all the Last Chance products HERE!

Find all the Post-It Note project supplies HERE!

Thanks so much for stopping by; I hope you've enjoyed today's project.  Happy Stamping!

Read More

Darling Details

Wednesday, April 10, 2024

Hello, and Welcome Back! Today, I am sharing a card that I CASED by Cindy Elam.  I saw her card, fell in love and had to recreate it.  I think the color combination is beautiful!  

Of course, I put my own spin on it by changing the sentiment and using Daffodil Delight for the stamped flowers instead of Crushed Curry.  I also chose a different sentiment.  

This card uses the Darling Details stamp set and coordinating dies, retiring on April 30, 2024.

I used Pretty Peacock CS for the base and die-cut the two eyelet layers from Lost Lagoon and Pool Party CS.

I used Granny Apple Green and Daffodil Delight CS For the foliage cutouts. I stamped the flowers and leaves using the two-step stamps in Daffodil Delight and Granny Apple Green ink. I used the Hello There stamp in the stamp set and Pebbled Path ink for the sentiment.

Measurements:

8 1/2 by 5 1/2 scored at 4 1/4”  Pretty Peacock  card base.

Large Eyelet die – Lost Lagoon

Small Eyelet die – Pool Party

5-3/8” x 4-1/8” Thick Basic White inside card

Just for fun, here's another sample using Gorgeous Grape and Highland Heather cardstock. 


 I hope you've enjoyed today's project. Don't forget to check out all the Last Chance products HERE!

Thanks for stopping by, have an amazing day and Happy Stamping!

Read More

New Online Exclusives

Thursday, March 7, 2024

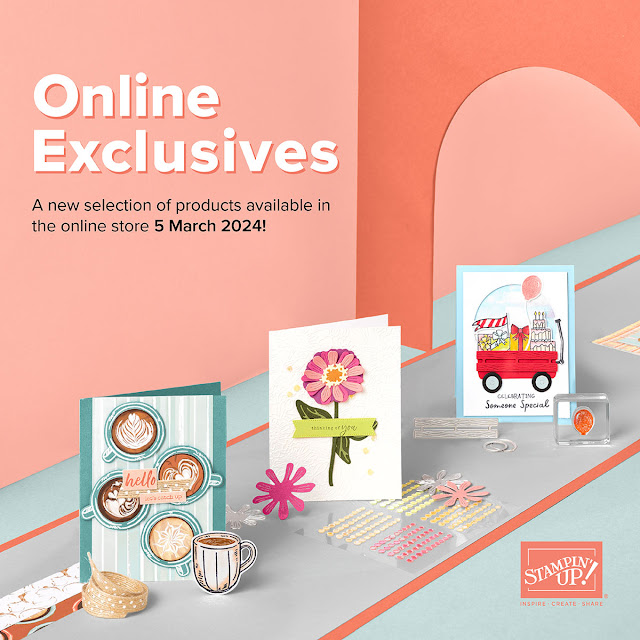
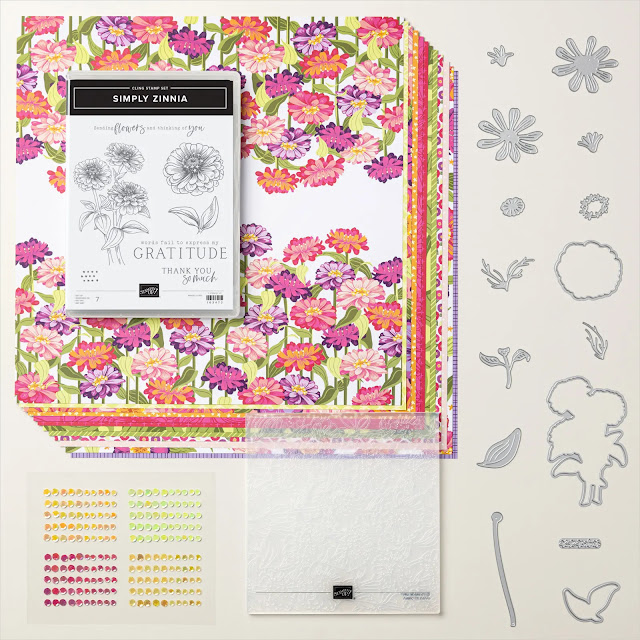
Hey Friends! I’m so excited to share with you the two new Online Exclusive Suites that just dropped in my ONLINE STORE

I think you’ll agree that these products are going to be a hit! They are so fun!


FLOWERING ZINNIAS SUITE


A LITTLE LATTE SUITE


Check out all the NEW Online Exclusives in my online store.  
Thanks for stopping by and happy stamping! 
Read More

Bee My Valentine & Stylish Shapes Dies

Saturday, February 17, 2024

Hey everyone! Welcome back! Today, I have another project featuring the Bee My Valentine Bundle and Bee Mine Designer Series Paper. I won’t make any promises that this will be the last time you see this bundle; it’s so cheerful. The weather here has been dreary all week, and creating with this bundle has made the days much brighter.

This project features the two-step-stamping and paper piecing techniques with leftover scraps of the Be Mine DSP.

Measurements:

Card Base: Thick White CS: 8 1/2 by 5 1/2 scored at 4 1/4”
Inside card: Thick White CS: 5-1/4” x 4”
DSP: 1” x 5-1/2”, 2” x 4-1/2”, 1-1/4” x 3-1/2”

I started by gluing a 1” x 5-1/2” piece of DSP to the left side of the card front and then I layered the remaining two pieces of DSP by staggering them.


To add some extra interest to the project, I cut a piece of Vellum CS using one of the squares from the Stylish Shapes Dies, and adhered it to the middle of the card. I only used glue in the center of the vellum square so the Bee would cover the glued area once it was added to the card.

Using the Bee My Valentine stamp set, I stamped the bee body, wings, and antennae on a scrap piece of Whisper White CS using Daffodil DelightPetal Pink, and Tuxedo Black (Memento) ink. I used the Bee Builder Punch to punch out the pieces and glued them together. 

I used Stampin’ Dimensionals to adhere the Bee to the card front. Then, I stamped the sentiment on a piece of 1/2” x 2-1/4” Basic White CS and attached it to the card front using more Stampin’ Dimensionals. I used the Banners Build a Punch to snip the end of the sentiment. 

I created a template for the Bee Builder Punch by punching out the pieces on a scrap piece of CS and then stamped the images inside the negative space of the template. This helps keep the images in line with the punch when you punch them out. YAY! No more wasted paper!


 I hope you have enjoyed today's project.  You can find all the products used for this project HERE!  Thanks for stopping by and Happy Stamping!

Read More